
Pressure Cooker Recipes: Your Essential Guide (2026)
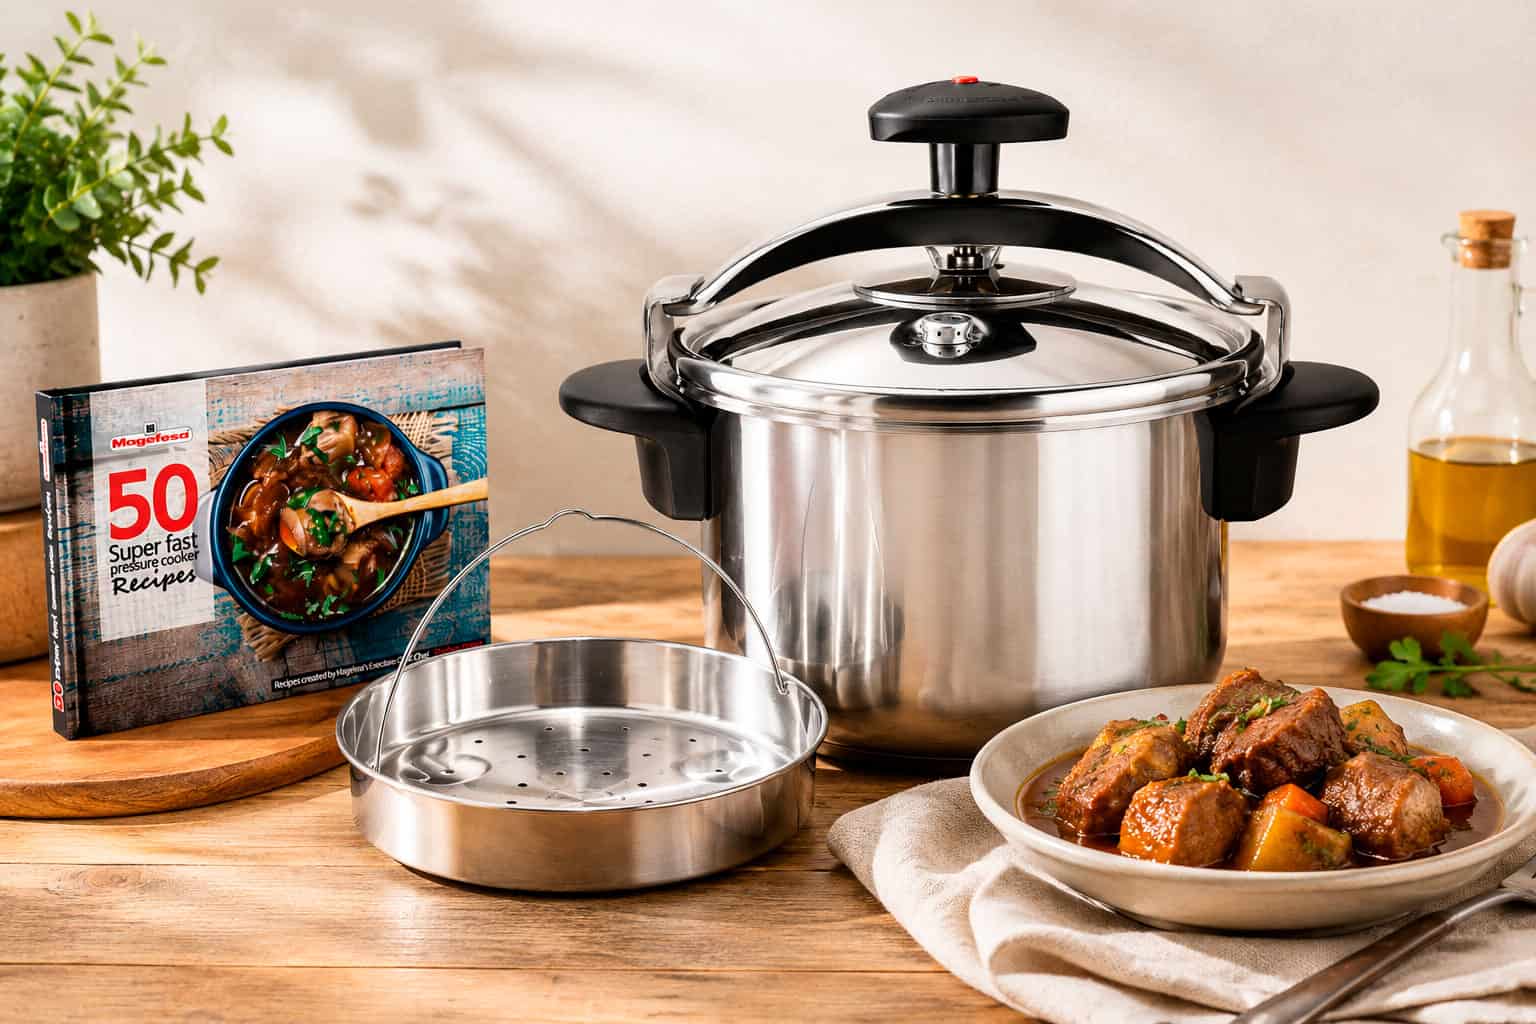
Tough cuts of beef, dried beans, and hearty stews used to mean hours at the stove. A pressure cooker changes that completely, turning a 3-hour braise into a 45-minute weeknight dinner. But here’s the thing: most home cooks never get the results they’re hoping for because they skip a few critical steps. This guide covers everything you need, from choosing the right equipment and building deep flavor to mastering safety and troubleshooting common mistakes. By the time you finish reading, you’ll feel confident enough to experiment with your own variations and make pressure cooking a regular part of your kitchen routine.
Table of Contents
- What you need for successful pressure cooker recipes
- Step-by-step: Building flavor and mastering basic pressure cooker recipes
- Safety, timing, and troubleshooting: Ensuring perfect results every time
- Recipe variations, advanced tips, and adapting for your needs
- Our take: Why the best pressure cooker recipes come from experimentation, not just following instructions
- Discover more delicious pressure cooker solutions
- Frequently asked questions
Key Takeaways
| Point | Details |
|---|---|
| Always use enough liquid | Start every recipe with at least 1 cup of thin liquid to ensure safe pressure building. |
| Sear and deglaze for flavor | Searing meats and deglazing the pot boosts flavor and prevents burn errors in pressure cooking. |
| Choose the right release | Use Natural Pressure Release for meats and Quick Release for veggies or seafood to get perfect textures. |
| Adjust for altitude and frozen foods | Increase cooking times for high altitudes and when using frozen ingredients to ensure thorough cooking. |
| Don’t fear experimentation | Great pressure cooker results often come from adjusting recipes and learning as you go. |
What you need for successful pressure cooker recipes
Now that you know what to expect, let’s make sure you’re set up for success in the kitchen. Before you cook a single meal, having the right tools and understanding a few non-negotiable rules will save you from frustration and wasted food.
The two main types of pressure cookers are electric models (like the popular Instant Pot) and stovetop models. Electric models are easier for beginners because they maintain uniform heat without any monitoring, while stovetop models reach higher pressure and are better suited for canning. If you’re just getting started, an electric model is the safer and more forgiving choice. You can read more about selecting the ideal pressure cooker before you commit to a purchase.
Essential tools to have on hand:
- A 6 or 8-quart pressure cooker (electric or stovetop)
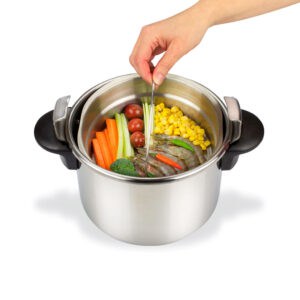
- A steamer basket for vegetables and fish
- Silicone-tipped tongs and a wooden spoon
- A liquid measuring cup
- Oven mitts rated for steam
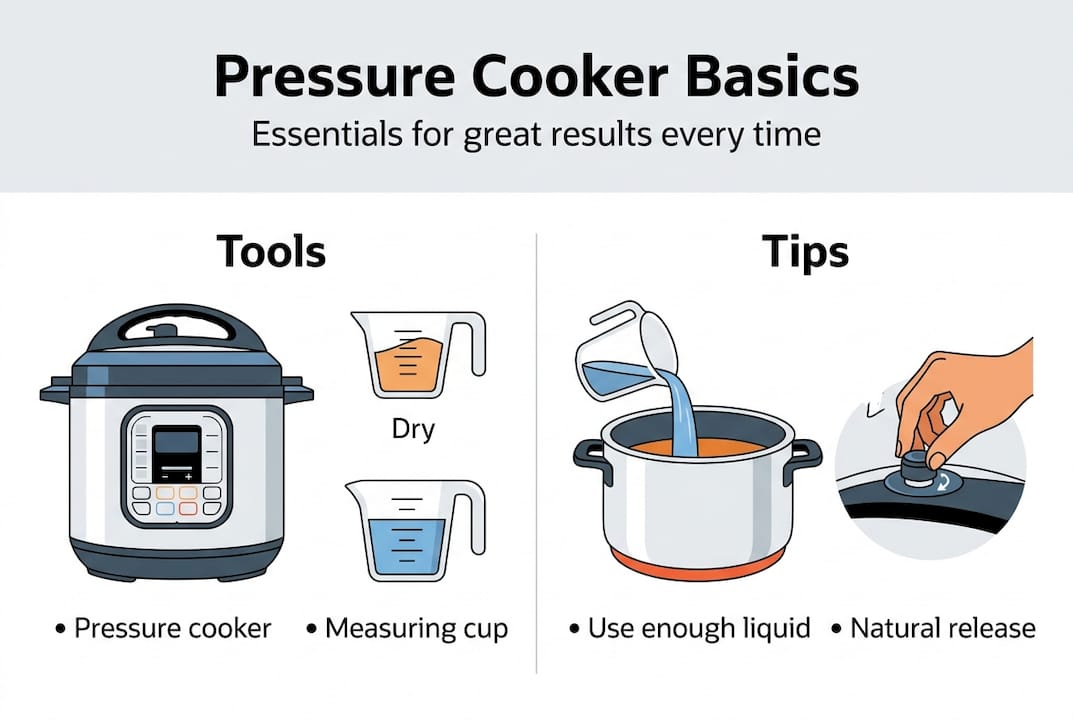
Liquid is the most critical variable in pressure cooking. At least 1 cup of thin liquid is required to generate steam and build pressure, and you should never fill the pot more than 2/3 full. For foamy foods like beans or rice, keep it at 1/2 full to prevent the steam vent from clogging.
| Feature | Electric model | Stovetop model |
|---|---|---|
| Ease of use | Beginner-friendly | Requires monitoring |
| Max pressure | 12-15 psi | 15+ psi |
| Best for | Everyday meals | Canning, advanced cooking |
| Price range | $80-$200 | $50-$150 |
Understanding why pressure cookers outperform conventional pots for certain recipes will also help you pick the right dishes to start with.
Pro Tip: Always read the user manual before your first use. Every model handles pressure release and sealing slightly differently, and skipping this step is the number one cause of beginner mistakes.
Step-by-step: Building flavor and mastering basic pressure cooker recipes
With your equipment and ingredients ready, it’s time to dive into the recipe process. The biggest mistake people make is treating a pressure cooker like a slow cooker where you just dump everything in. Layering flavors before sealing the lid is what separates a flat, watery result from something genuinely delicious.
The core process, step by step:
- Sauté your aromatics. Use the sauté function to cook onions, garlic, and spices in a small amount of oil until fragrant.
- Sear your protein. Sear meats first using the sauté function to trigger the Maillard reaction, which creates deep, roasted flavor.
- Deglaze the pot. Add a splash of broth or wine and scrape up any browned bits from the bottom. This step prevents burn errors.
- Add remaining ingredients. Layer vegetables and proteins, then pour in your measured liquid.
- Seal and set. Lock the lid, select high pressure, and set your cook time.
- Release pressure. Choose your release method based on what you’re cooking (covered in the next section).
| Food | Cook time (high pressure) | Release method |
|---|---|---|
| Beef chuck | 60-75 min | Natural (15-20 min) |
| Chicken breast | 8-10 min | Quick release |
| Dried beans (soaked) | 5-10 min | Natural |
| Root vegetables | 4-6 min | Quick release |
If you already have slow cooker recipes you love, you can adapt them easily. Divide the slow cooker time by 3 or 4 and reduce your liquid by about half, since pressure cooking produces no evaporation. A classic chile con carne in a pressure cooker is a perfect first test for this technique. You can also explore super fast pressure cooker recipes for more tested starting points.
Pro Tip: Always deglaze the pot after sautéing. Even a thin layer of stuck food on the bottom will trigger a burn notice on electric models and ruin your meal before pressure even builds.
Safety, timing, and troubleshooting: Ensuring perfect results every time
As you follow your recipe, timing and safety practices are essential for delicious and safe outcomes. Pressure cooking is extremely safe when you follow the rules, but a few shortcuts can cause real problems.
The two pressure release methods you need to know are Natural Pressure Release (NPR) and Quick Release (QR). NPR takes 10 to 20 minutes and is ideal for tough meats because the slow depressurization keeps fibers tender and juicy. QR is better for vegetables and seafood where you want to stop cooking immediately and preserve texture.
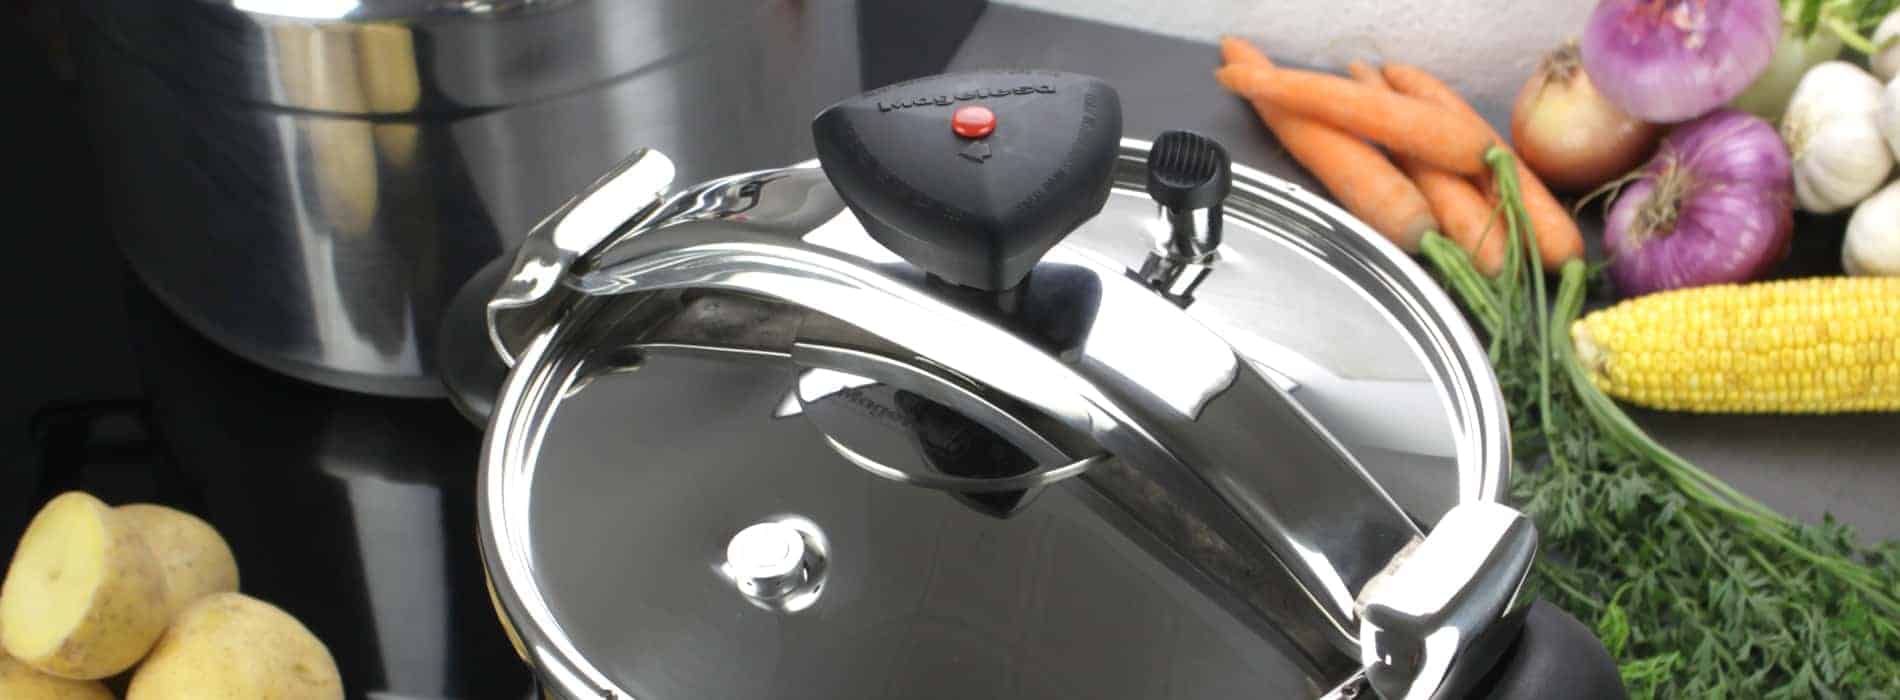
Safety reminder: Always use at least 1 cup of liquid. Never fill above the 2/3 line (1/2 for foamy foods). Keep the steam vent clear at all times, and never attempt to force open the lid while pressure remains.
Common mistakes and how to fix them:
- Burn notice: Food stuck to the bottom from skipping the deglaze step. Fix it by adding more liquid and scraping the pot before resealing.
- Lid won’t lock: The sealing ring is missing or not seated correctly. Always check it before cooking.
- Watery results: Too much liquid or too short a cook time. Reduce liquid or use the sauté function after cooking to thicken.
- Undercooked food: Seal was not complete, or the pressure was not fully reached. Check the vent and sealing ring.
Avoid oil-only cooking at all times, as it creates a fire risk and provides no steam for pressure to build. Overfilling and skipping the deglaze step are the other two most common causes of failed meals. Knowing pressure cooker safety tips before you cook is just as important as knowing the recipe itself. You might also be surprised to learn how useful pressure cookers are in summer when you want hot meals without heating up the whole kitchen.
Pro Tip: Let pressure drop naturally for most meats, and always point the steam release valve away from your face and hands when using Quick Release.
Recipe variations, advanced tips, and adapting for your needs
Once you’re comfortable with the basics, it’s easy to make pressure cooking your own. The real power of a pressure cooker shows up when you start experimenting with different ingredients, diets, and cooking conditions.
Flavor boosters and recipe inspiration:
- Add a parmesan rind to soups and stews for umami depth
- Use smoked paprika, chipotle, or dried mushrooms for bold, layered flavor
- Stir in fresh herbs, citrus zest, or vinegar after cooking to brighten the dish
- Try seafood pressure cooker recipes for fast, impressive weeknight meals
- Swap beef broth for vegetable broth and skip the meat for easy vegetarian versions
- Use low-sodium broth and fresh garlic instead of salt-heavy seasoning packets
For tested recipes, beef chili takes 30 to 35 minutes at high pressure and yields tender, pull-apart beef. French onion soup can be made by caramelizing onions in just 20 minutes under pressure, something that normally takes over an hour on the stovetop.
| Adjustment needed | What to do |
|---|---|
| High altitude (above 3,000 ft) | Add 5% more time per 1,000 ft |
| Cooking from frozen | Increase cook time by 50% |
| Vegetarian swap | Replace meat broth with vegetable broth |
| Low-sodium diet | Use unsalted broth and season after cooking |
Altitude is something many home cooks overlook entirely. If you live in Denver, Salt Lake City, or any area above 3,000 feet, your pressure cooker actually reaches a slightly lower effective pressure, which means food takes longer to cook. Adjusting your timing by just a few minutes makes a noticeable difference in texture and doneness.
Our take: Why the best pressure cooker recipes come from experimentation, not just following instructions
While techniques and tables offer a solid foundation, let’s talk about how to truly make pressure cooking your own. Here’s something most recipe guides won’t tell you: the table of cook times is a starting point, not a guarantee.
Your chicken breast might be thicker than the one the recipe developer used. Your altitude might be higher. Your broth might be saltier or thinner. All of these variables shift the outcome, and no recipe can account for every kitchen in America. The cooks who get the best results are the ones who treat each meal as a learning opportunity rather than a pass-or-fail test.
We’ve seen home cooks give up after one burn notice, convinced the appliance was broken. It wasn’t. They just needed to deglaze more thoroughly. Keep a small notebook near your pressure cooker and jot down what you changed, what worked, and what you’d do differently. After five or six meals, you’ll start to see patterns specific to your kitchen and your cooker. That knowledge is more valuable than any recipe chart.
Understanding the value of pressure cooking goes beyond speed. It’s about building a cooking instinct that makes every meal better.
Pro Tip: Keep a pressure cooker cooking log. Note the cut of meat, liquid amount, cook time, and release method. After a few weeks, you’ll have a personalized reference that beats any generic chart.
Discover more delicious pressure cooker solutions
Ready to take your pressure cooking to the next level? Here’s where to find even more inspiration and support.
At Magefesa USA, we’ve built a full library of resources to help you cook with confidence. Our pressure cooker recipes cookbook features 50 tested, fast recipes designed specifically for home cooks who want great results without the guesswork. If you’re still deciding on a model, our pressure cooker buying guide walks you through every key feature to consider. And if you’re ready to browse our full lineup, explore all Magefesa pressure cookers to find the right fit for your kitchen and cooking style.
FAQs
What are the most important safety tips for pressure cooker recipes?
Always use at least 1 cup of liquid and never overfill past the 2/3 line. Deglaze after sautéing to prevent burn errors and always release pressure safely before opening the lid.
How do I convert a slow cooker recipe to a pressure cooker?
Divide the cook time by 3 or 4 and use about half the liquid, since pressure cookers trap all moisture and produce no evaporation during cooking.
How do I know which pressure release method to use?
Use Natural Pressure Release for tough meats to keep them juicy, and Quick Release for vegetables or seafood to stop cooking immediately and preserve texture.
What are some recipe ideas for pressure cooker beginners?
Start with shredded chicken, beef chili, or basic soaked beans. These are forgiving, cook quickly under pressure, and consistently deliver great results even for first-timers.
How do I adjust pressure cooker recipes for high altitudes?
Add 5% more cooking time for every 1,000 feet above 3,000 feet elevation, and increase cook time by 50% when cooking meat straight from frozen.
Recommended
- Why Choose Pressure Cookers for Better Meals
- 50 Super Fast Pressure Cooker Recipes | Cookbook
- Pressure Cookers in Summer: Easy Cooking without Heating up the House
- The Best Way to Cook Christmas Dinner Fast: Why a Pressure Cooker Is Your Holiday Secret Weapon

