How to Roast Pumpkin Seeds: Easy, Crispy Results
How to Roast Pumpkin Seeds: Easy, Crispy Results
Roasting pumpkin seeds is one of the easiest ways to make the most of your Halloween pumpkin. All you need is a little olive oil, salt, and a hot oven to turn the seeds into a crunchy, savory snack.
For crispy roasted pumpkin seeds, clean them thoroughly, dry them well, toss them with oil and seasonings, and roast at 325°F (163°C) until golden and crisp. You can eat them straight from the bowl or sprinkle them over soups, salads, and roasted vegetables.
1. Ingredients and Equipment
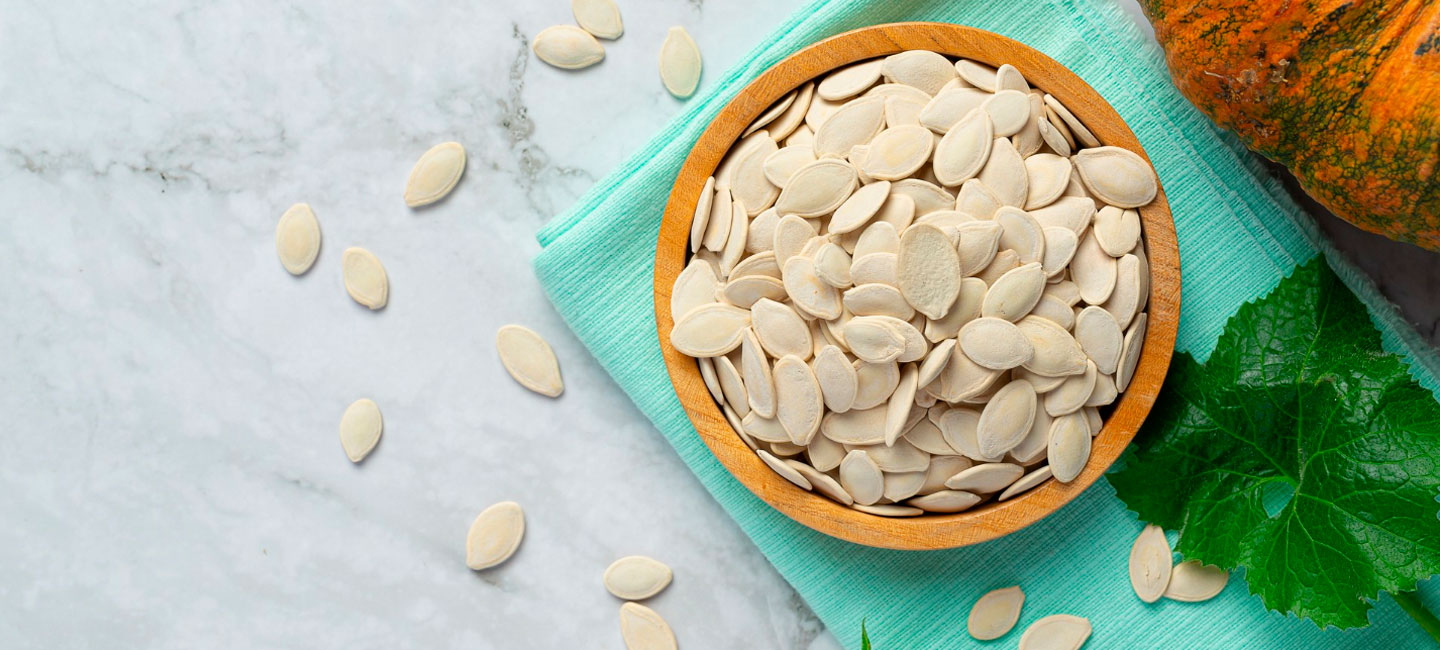
This recipe uses fresh seeds scooped directly from a pumpkin, with their white outer shells intact.
| Recipe details | |
|---|---|
| Prep time | 15 minutes |
| Cook time | 20–30 minutes |
| Oven temperature | 325°F (163°C) |
| Yield | Approximately 1 cup |
| Difficulty | Easy |
Ingredients
1 cup fresh pumpkin seeds, cleaned
1 teaspoon extra virgin olive oil or melted butter
¼ teaspoon fine salt, or to taste
Optional: smoked paprika, garlic powder, cinnamon, or other favorite seasonings
Equipment
Large spoon
Colander or fine-mesh strainer
Clean kitchen towel or paper towels
Baking sheet
Mixing bowl
For a comforting fall meal, try adding a handful of roasted pumpkin seeds to our Pumpkin cream with carrot and prawns. Their crunch makes a delicious contrast to the smooth soup.
2. How to Roast Pumpkin Seeds Step by Step
Step 1. Scoop out the seeds
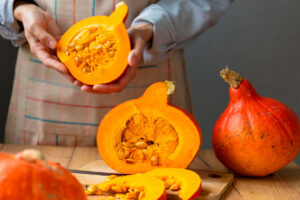
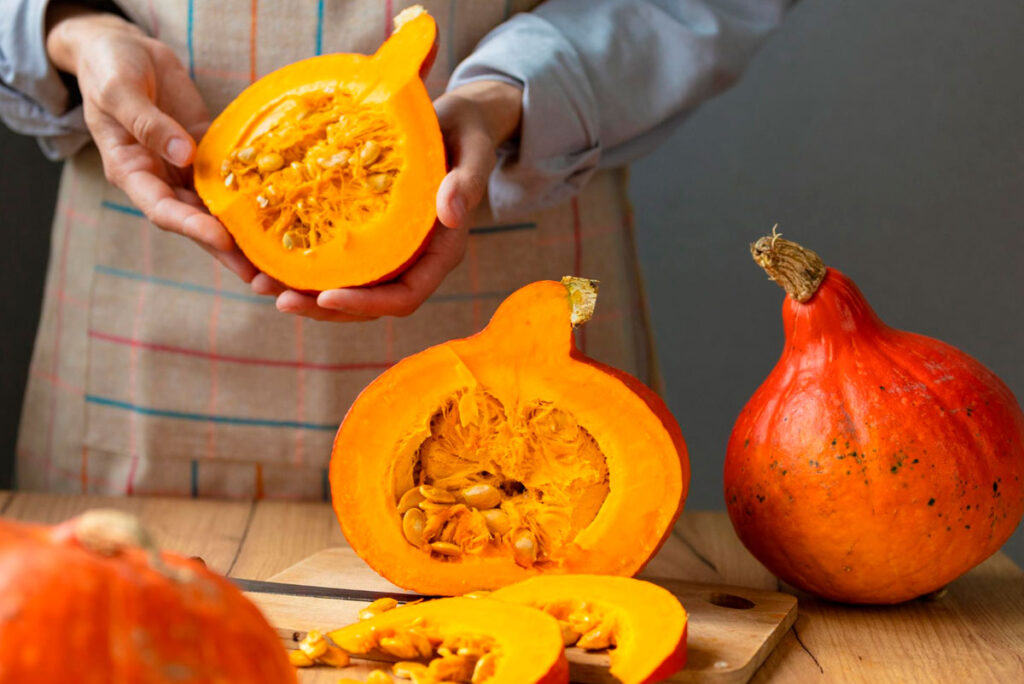
Cut open your pumpkin and use a large spoon or your hands to remove the seeds and stringy pulp.
Place everything in a bowl, then separate the seeds from the larger pieces of pumpkin flesh.
If you’re preparing a jack-o’-lantern, this is the perfect opportunity to save the seeds rather than throw them away.
Step 2. Clean the seeds
Transfer the seeds to a colander and rinse under cool running water.
Rub them gently between your fingers to remove the remaining pumpkin fibers. A few tiny pieces of pulp won’t ruin the recipe, but removing most of them helps the seeds roast more evenly.
Step 3. Dry the seeds thoroughly
Drain the cleaned seeds and spread them over a clean kitchen towel or several layers of paper towels.
Pat them dry, then let them air-dry briefly if they still feel wet.
Should you boil pumpkin seeds before roasting?
Boiling is optional. Some recipes simmer the seeds in salted water for about 10 minutes before roasting, which can season the shells and change their texture.
If you choose this method, drain the seeds thoroughly and dry them before adding oil. They may need additional oven time because they retain more moisture.
For a quick, straightforward snack, you can skip boiling entirely.
Step 4. Add oil and seasonings
Preheat your oven to 325°F (163°C).
Place the dried seeds in a mixing bowl and toss with olive oil or melted butter and salt. Add any additional seasonings you like.
Spread the seeds in a single layer on a baking sheet, leaving enough space for hot air to circulate.
Avoid piling them on top of one another, as overcrowding can lead to uneven roasting.
Step 5. Roast until golden and crisp
Place the baking sheet in the preheated oven and roast for approximately 20–30 minutes, stirring every 10 minutes to encourage even browning.
Start checking around the 15-minute mark, particularly if your seeds are small or very dry.
The seeds are ready when their shells are lightly golden, dry, and crisp. Taste one after allowing it to cool slightly: the shell should have a pleasant crunch rather than a chewy texture.
Remove the baking sheet from the oven and let the seeds cool before serving. They will often become slightly crispier as they cool.
3. Best Seasonings for Roasted Pumpkin Seeds
Salted pumpkin seeds are delicious on their own, but a few pantry spices can give them a different flavor.
The following combinations are designed for approximately one cup of cleaned seeds.
| Flavor | Seasonings | Best use |
|---|---|---|
| Classic salted | ¼ tsp fine salt + 1 tsp olive oil | Everyday snacking |
| Smoky paprika | ¼ tsp smoked paprika + ⅛ tsp garlic powder + a pinch of salt | Soups and savory snacks |
| Cinnamon sugar | ½ tsp sugar + ¼ tsp cinnamon + a small pinch of salt | Sweet fall snacking |
For savory versions, mix the spices with the oil before roasting.
For cinnamon sugar seeds, roast them with oil and a small pinch of salt, then toss with the cinnamon-sugar mixture immediately after removing them from the oven. This helps prevent the sugar from scorching during baking.
4. Why Aren’t My Pumpkin Seeds Crispy?
If your roasted pumpkin seeds turn out chewy, unevenly browned, or bitter, a small adjustment usually solves the problem.
| Problem | Likely cause | What to do next time |
|---|---|---|
| Chewy seeds | Too much moisture or insufficient roasting | Dry thoroughly and continue roasting in short intervals |
| Uneven browning | Overcrowded baking sheet | Spread seeds in a single layer and stir periodically |
| Burnt or bitter flavor | Excessive heat or roasting time | Check earlier and remove once lightly golden |
| Too salty | Excess seasoning or salted boiling water | Start with less salt and adjust after roasting |
| Tough shells | Large seeds or naturally thick hulls | Try smaller seeds or a different pumpkin variety |
One detail worth remembering: pumpkin seeds from different varieties don’t all have the same shell thickness. Even when properly roasted, some will be more delicate and easier to chew than others.
5. How to Store Roasted Pumpkin Seeds
Let the seeds cool completely before storing them. Trapping warmth and moisture inside a sealed container can soften their texture.
For short-term storage, place them in a clean, airtight container in a cool, dry location. For longer storage, refrigerate or freeze them in a well-sealed container to help protect their flavor.
Because homemade roasted seeds can retain different amounts of moisture, storage life varies. If they develop an unpleasant odor, visible mold, or an off flavor, discard them.
If the seeds have simply lost some crunch but still smell and taste fresh, spread them on a baking sheet and warm them briefly in a low oven, checking frequently to avoid burning.
Share