
How to Replace Pressure Cooker Valve Safely
Most pressure problems come from worn, clogged, or missing valve parts, and replacing them correctly helps keep your pressure cooker safe and reliable.
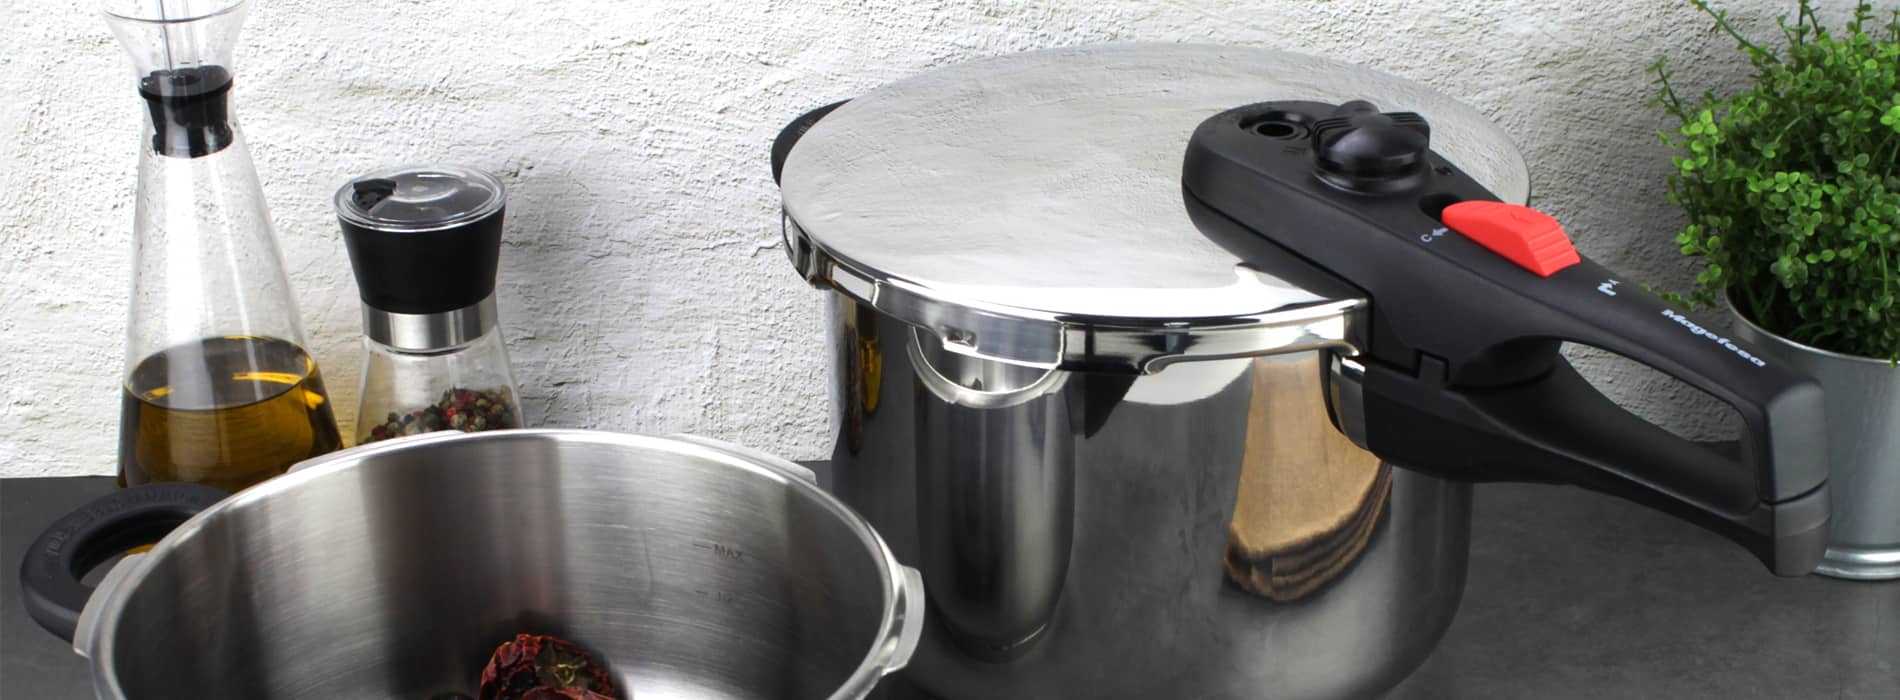
A pressure cooker that no longer builds or releases pressure correctly can turn a quick weeknight dinner into a frustrating wait. The good news is that many valve issues come down to a worn, clogged, or missing part. Knowing how to replace pressure cooker valve components correctly helps protect your cooker, your food, and everyone gathered around the table.
Pressure cookers use heat, steam, and carefully controlled pressure. That means a replacement is not the place to guess, force a part into place, or use a generic piece that only looks similar. A valve must match the cooker model and work exactly as intended.
Before You Replace a Pressure Cooker Valve
Start with a completely cool, empty pressure cooker. Never inspect, remove, or replace a valve while the cooker is hot, pressurized, or sitting on a warm burner. Wash and dry the lid so food residue does not hide the valve opening or interfere with installation.
Before ordering or fitting a new part, make sure the valve is truly the problem. Steam escaping from the top of the cooker may be normal during operation, depending on the cooker design and pressure setting. But constant steam leakage, failure to reach pressure, a loose regulator, or a valve that will not release after cooking can point to a part that needs attention.
Know Which Valve You Need
The word “valve” can describe more than one pressure cooker component. The operating valve, sometimes called a pressure regulator or control valve, manages pressure during cooking. It is often the removable piece on top of the lid.
A safety valve is a separate backup feature designed to release pressure if the main operating system is blocked or malfunctioning. Some cookers also have a pressure indicator, silicone gasket, or valve housing that affects how the lid performs. These parts may look related, but they are not interchangeable.
Check your cooker’s model name, model number, capacity, and lid style before selecting a replacement. Those details are commonly stamped on the bottom of the cooker, printed on the lid, or included in the original instructions. A valve for a different capacity or product line may not seal, vent, or regulate pressure properly.
Clean First, Then Decide
Food particles, mineral buildup, and dried cooking liquid can block a valve opening. If your valve looks intact, remove it according to the cooker instructions and clean the valve, vent tube, and surrounding lid area with warm water and a soft brush. Never enlarge a vent opening with a pin, knife, drill bit, or other sharp tool.
If cleaning restores free movement and the part has no cracks, warping, corrosion, or worn seals, replacement may not be necessary. If the valve remains loose, sticks, leaks, or has visible damage, replace it with the correct model-specific part.
How to Replace a Pressure Cooker Valve
The exact attachment method varies by pressure cooker, but the process below covers the safe approach for most stovetop models. Keep your cooker’s instructions nearby, especially if your valve has a retaining nut, screw, spring, or silicone seal.
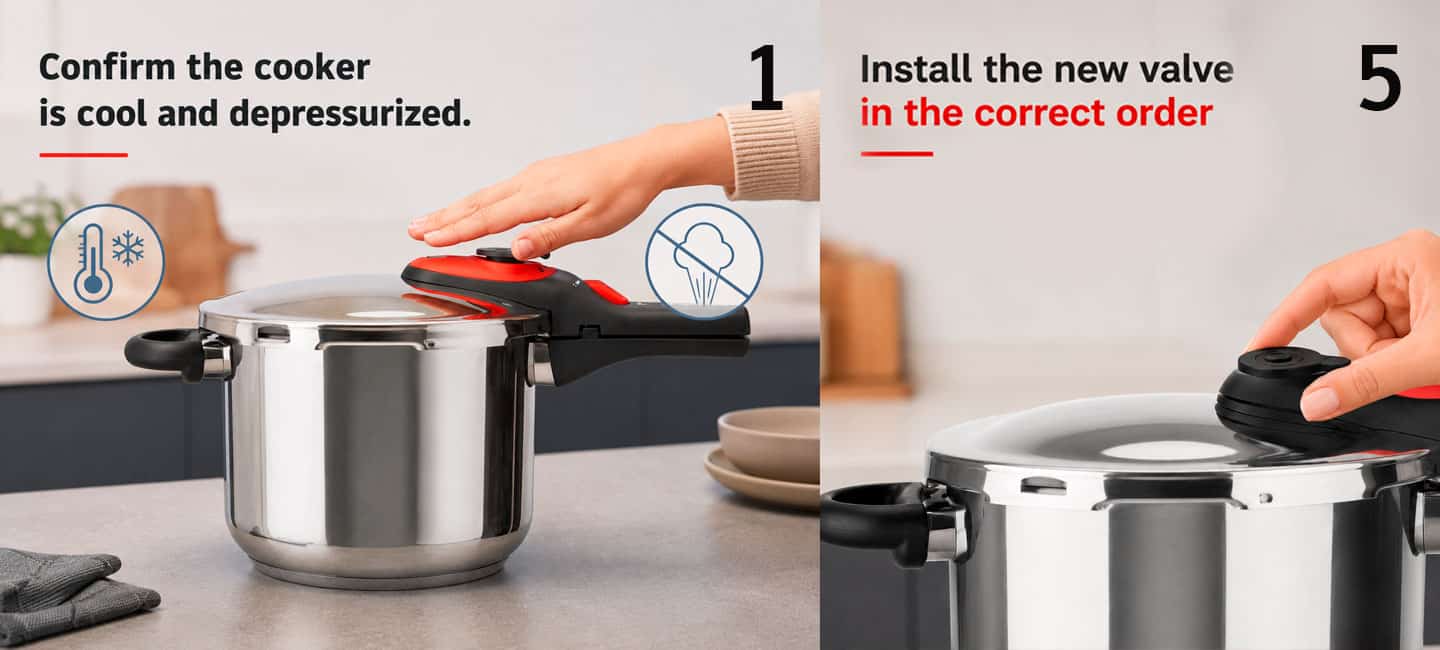
- Confirm the cooker is cool and depressurized. Open the lid only after all pressure has released. Remove the gasket if needed to give yourself a clear view of the valve area.
- Remove the existing valve carefully. Some operating valves lift straight off the vent pipe. Others secure from the underside of the lid with a nut, cap, or retaining piece. Support both sides of the lid as you work so you do not bend the vent tube.
- Inspect the valve housing and vent tube. Look for hardened residue, bent metal, damaged threads, or a blocked opening. Wipe the area clean and make sure the passage is open using only the cleaning method recommended for your cooker.
- Compare the old and new parts. The replacement should match the original part’s shape, diameter, attachment style, and pressure setting. Do not install a part that rocks, binds, leaves a gap, or requires force to fit.
- Install the new valve in the correct order. If your model uses a seal, washer, spring, or retaining nut, place each piece exactly as specified. Tighten only to the recommended level. Overtightening can damage threads, distort a seal, or prevent the valve from operating freely.
- Check valve movement. A removable regulator should sit securely while still allowing the motion intended by its design. A safety valve should be seated firmly and should not appear cracked, pinched, or crooked.
- Reassemble the lid and inspect the gasket. The lid gasket is just as important as the valve. If it is brittle, stretched, torn, flattened, or carrying a strong odor that remains after cleaning, replace it before using the cooker.
For Magefesa pressure cookers, choose replacement parts designed for your specific cooker model rather than trying to adapt a similar-looking part. Correct fit is what allows the cooker’s pressure system to perform as designed, meal after meal.
Test the Cooker With Water Before Cooking
Do not make the first test after replacing a valve a full pot of beans or a family recipe. Add water according to your cooker’s minimum-fill guidance, secure the lid, and heat the cooker while staying nearby.
As it heats, watch for a normal progression: steam begins to form, the cooker reaches pressure, and the operating valve behaves according to its intended setting. There should not be a continuous, uncontrolled stream of steam from around the valve base, lid rim, handles, or safety valve.
After the test, turn off the heat and allow the cooker to depressurize using the method approved for your recipe and cooker model. Once it is fully cool, remove the lid and check for moisture around the valve assembly. A dry, secure fit and normal pressure performance are good signs that the replacement was installed correctly.
Common Problems After Valve Replacement
If the cooker still will not build pressure, the valve may not be the only issue. A poorly seated gasket, food residue in the vent tube, an overfilled pot, or heat that is too low can all prevent proper pressurization. Check each item before assuming the new valve is defective.
If steam leaks around the lid, inspect the gasket and the lid rim first. If steam escapes continuously from the operating valve when the cooker should be regulating normally, stop cooking, cool the cooker completely, and check that the replacement part is the exact match and installed in the correct position.
A rattling or gentle release from certain regulators can be normal. A valve that whistles sharply, spits food, tilts excessively, or releases steam from an unexpected location is not something to ignore. Turn off the heat and let the cooker cool naturally. Never place your hands, face, or a towel over an active steam outlet.
When a New Valve Is Not Enough
Replace the entire cooker or seek manufacturer guidance if the lid is warped, the vent tube is bent or damaged, the locking system does not engage, or the safety valve opening is compromised. Pressure cooking depends on several parts working together. Replacing one component cannot make up for structural damage or a lid that no longer closes securely.
Also avoid using aftermarket parts with unknown pressure ratings. A lower-priced substitute can cost more in the long run if it affects cooking performance or creates a safety concern. Durable cookware earns its place in the kitchen when it can be maintained with parts made for the job.
Frequently Asked Questions
Can I use a universal pressure cooker valve?
It depends on the cooker, but a universal valve is rarely the best choice unless the manufacturer specifically confirms compatibility. Pressure cookers differ in vent size, valve weight, pressure level, and locking design. Use a replacement made for your exact model whenever possible.
How often should I replace a pressure cooker valve?
Replace it when it is damaged, no longer fits securely, does not move or vent as designed after cleaning, or is identified as worn in your cooker instructions. With regular cleaning and careful storage, a quality valve may last for many years.
Why is my new valve still releasing steam?
Some steam release can be part of normal pressure regulation. Constant leakage or failure to reach pressure usually suggests an installation issue, a mismatched part, a blocked vent, or a gasket problem. Let the cooker cool before inspecting it.
A well-maintained pressure cooker keeps everyday cooking moving, from tender soups and grains to hearty family dinners. Give its valve the same care you give your favorite recipes: use the right part, test it patiently, and cook with confidence.
A pressure cooker valve is a small part with an important job. Keeping it clean, replacing it when it shows signs of wear, and using the correct replacement for your specific model will help your cooker build and regulate pressure as intended. If you are ever unsure whether a valve or another pressure component is compatible, check the manufacturer’s instructions before using the cooker again.

