10 Practical Cooking Tips for Better Everyday Meals

10 Practical Cooking Tips for Better Results in the Kitchen
Good cooking often comes down to small decisions: when to add herbs, how much water to use for rice, or how gently to heat a custard. Getting these details right can make everyday meals more flavorful, improve texture, and help prevent common kitchen mistakes.
These 10 practical cooking tips explain what works, why it works, and when to adjust your approach.
Build More Flavor With Ingredients You Already Have
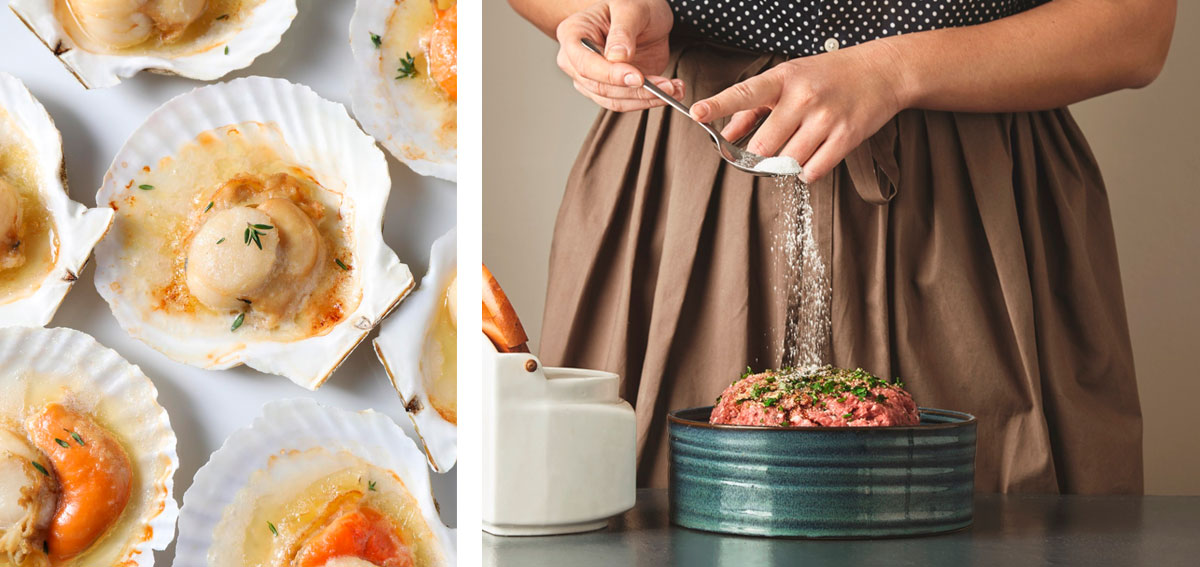
1. Save shrimp shells for homemade seafood stock
Shrimp shells and heads are packed with flavor. Instead of throwing them away, use them to make a quick stock for soups, risotto, seafood rice, or sauces.
Sauté the shells in a little oil until fragrant, add water and optional aromatics, then simmer gently for about 20–30 minutes. Strain the liquid before using it.
If you’re not making stock immediately, freeze the shells in a sealed, labeled container. Freeze them promptly while fresh, rather than saving scraps that have been sitting at room temperature.
2. Taste before adding salt to dishes with cured ingredients
Ham, bacon, cured sausage, and other preserved meats already contribute salt to a dish.
When preparing soups, stews, or rice dishes with these ingredients, wait until their flavors have had time to develop before adjusting the seasoning.
You can always add more salt, but correcting an oversalted dish is much harder.
Know When to Add Fresh and Dried Herbs
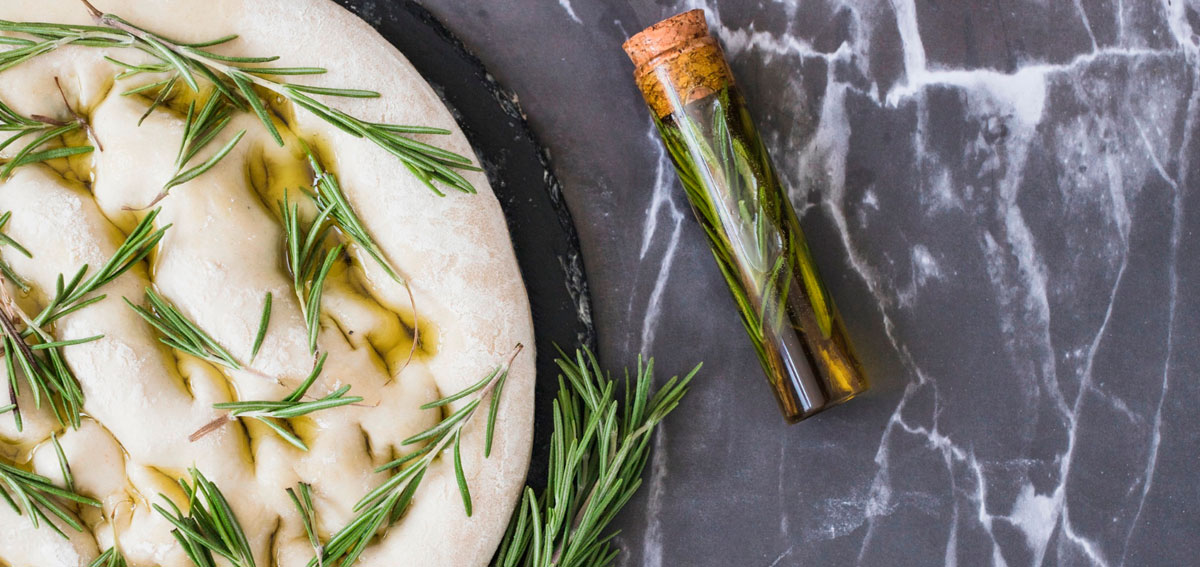
3. Add delicate herbs near the end of cooking
Fresh basil, parsley, cilantro, and chives lose much of their bright aroma when exposed to prolonged heat.
For the freshest flavor, stir them into soups, sauces, and stews just before serving.
Heartier herbs, including rosemary, thyme, and bay leaves, can withstand longer cooking and often benefit from being added earlier.
Dried herbs generally need more time to release their flavor. Add them during cooking rather than using them only as a finishing garnish.
Cook Rice and Beans With Better Texture
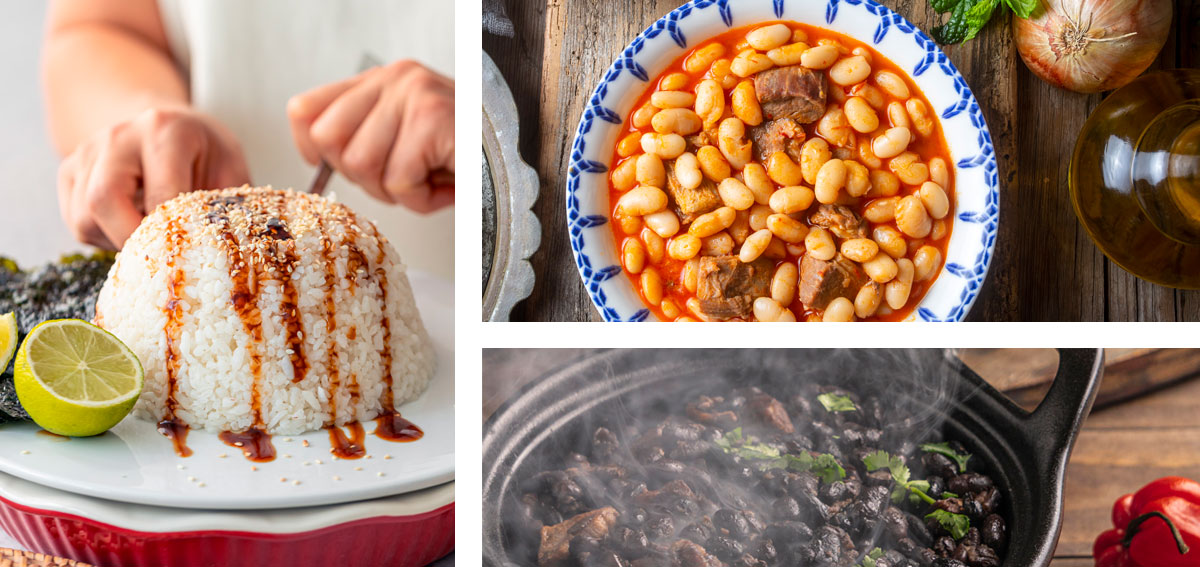
4. Match the water ratio to the type of rice
The familiar rule of using two parts water to one part rice is not universal.
Different rice varieties absorb water differently, and the cooking method matters just as much as the grain.
Long-grain white rice: Often requires approximately 1½–2 cups of water per cup of rice, depending on the variety and cooking method.
Brown rice: Usually needs more water and a longer cooking time than white rice.
Risotto rice: Requires gradual additions of warm liquid and frequent stirring to develop its creamy texture.
For stovetop rice, use a saucepan with a well-fitting lid, maintain a gentle simmer, and avoid lifting the lid repeatedly.
After cooking, let the rice rest, covered, for 5–10 minutes before fluffing it with a fork. This allows moisture to redistribute and helps produce a more even texture.
A heavy-bottomed pot with a well-fitting lid makes it easier to maintain a steady simmer when cooking rice, beans, and homemade stocks. The Magefesa Onix Stainless Steel Casserole Pot is a practical option for these everyday preparations.
5. Soak dried beans when appropriate
Soaking dried beans can shorten cooking time and help them cook more evenly, particularly with larger varieties such as kidney beans and chickpeas.
Cover the beans with plenty of cold water and refrigerate them during an overnight soak. Drain and rinse before cooking.
Lentils and split peas generally do not require soaking.
Water quality can also affect results. Very hard water may slow the softening of beans, so using filtered or lower-mineral water can help if your beans consistently take longer than expected.
Contrary to a common kitchen myth, adding salt early does not necessarily make beans tough. Salting the cooking water can help season them throughout.
6. Cook beans gently rather than boiling them aggressively
Once beans are cooking, maintain a steady, gentle simmer. Vigorous boiling can split their skins and leave the interiors unevenly cooked.
Check the water level occasionally and add more hot water as needed to keep the beans submerged.
Cooking times vary depending on the bean variety, age, and storage conditions. Judge doneness by tasting several beans rather than relying exclusively on a timer.
For dried red kidney beans, follow specific food-safety guidance: boil them vigorously in fresh water for at least 30 minutes before simmering. A slow cooker alone may not reach the temperature needed to destroy their naturally occurring toxin.
Handle Fish and Shellfish Safely
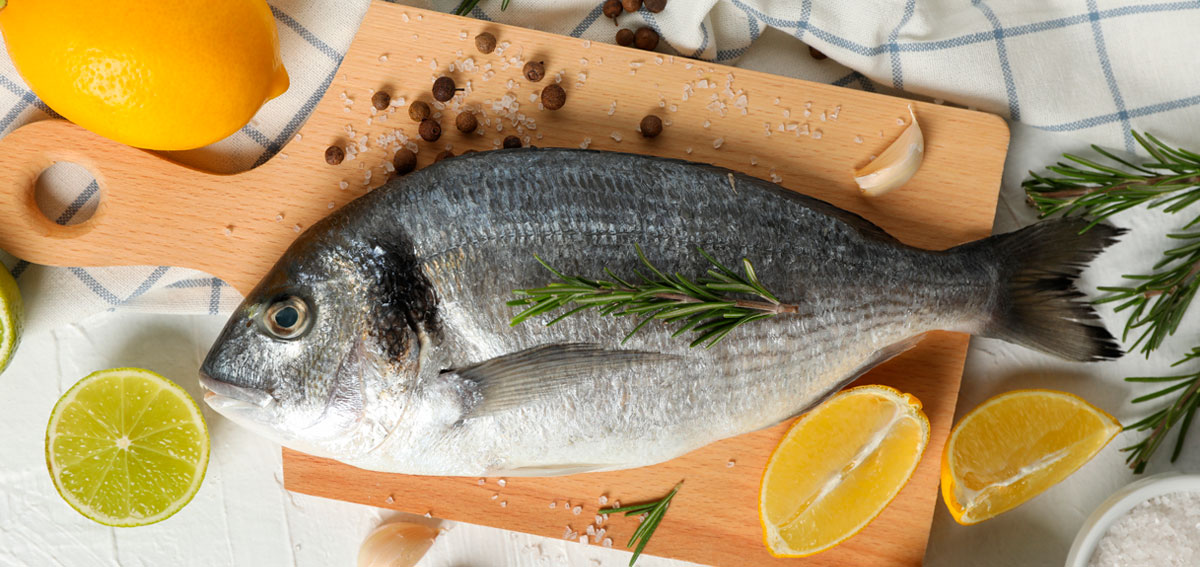
7. Clean clams properly before cooking
Fresh clams may contain sand that can spoil the texture of an otherwise well-prepared seafood dish.
Inspect them before cooking, discarding cracked shells and any open clams that do not close when tapped.
For live, hard-shell clams, a short soak in cold saltwater can help release sand, although the appropriate method depends on the species. Follow your fishmonger’s handling instructions.
Keep live clams refrigerated in a breathable container covered with a damp cloth. Never store them submerged in fresh water or sealed in an airtight plastic bag.
During cooking, discard clams that remain closed after the recommended cooking time. An opened shell alone does not guarantee safety; shellfish must also be cooked adequately.
8. Never assume refrigeration makes raw fish safe
Keeping fish in the refrigerator for 48 hours does not eliminate parasites or make it safe for sushi or sashimi.
Fish intended for raw consumption requires careful sourcing, handling, and, for many species, freezing under specific time-and-temperature conditions to control parasites.
Even properly frozen fish can still contain harmful bacteria, so safe handling remains essential.
For home cooks, the safest approach is to purchase fish specifically intended for raw preparation from a knowledgeable supplier and follow established food-safety guidance. Cooking seafood thoroughly is the lower-risk option, particularly for pregnant people, young children, older adults, and anyone with a weakened immune system.
Make Smooth Custards With Gentle Heat

9. Use a water bath for delicate baked custards
Crème caramel, flan, and other egg-based custards can become grainy or develop bubbles when exposed to excessive heat.
A water bath, also called a bain-marie, helps moderate the heat surrounding the custard.
Place the filled ramekins in a deep baking dish, then carefully pour hot water into the dish until it reaches about halfway up their sides.
Bake at the temperature specified in your recipe, often around 300–325°F (150–163°C), rather than assuming one oven temperature works for every custard.
The custard is usually ready when the edges are set but the center still has a slight wobble. It will continue to firm up as it cools.
10. Let delicate foods rest before serving
Resting isn’t only for roasted meat. Many everyday dishes benefit from a few minutes off the heat.
Rice becomes easier to fluff, baked custards finish setting as they cool, and thick soups or stews often develop a more balanced flavor after a short rest.
The appropriate resting time depends on the dish. Keep food out of the temperature danger zone by refrigerating perishable leftovers promptly rather than leaving them on the counter for extended periods.
Good cooking is often less about complicated techniques and more about understanding how ingredients respond to heat, moisture, and time. A few thoughtful adjustments can make familiar recipes more consistent and enjoyable.
Share